
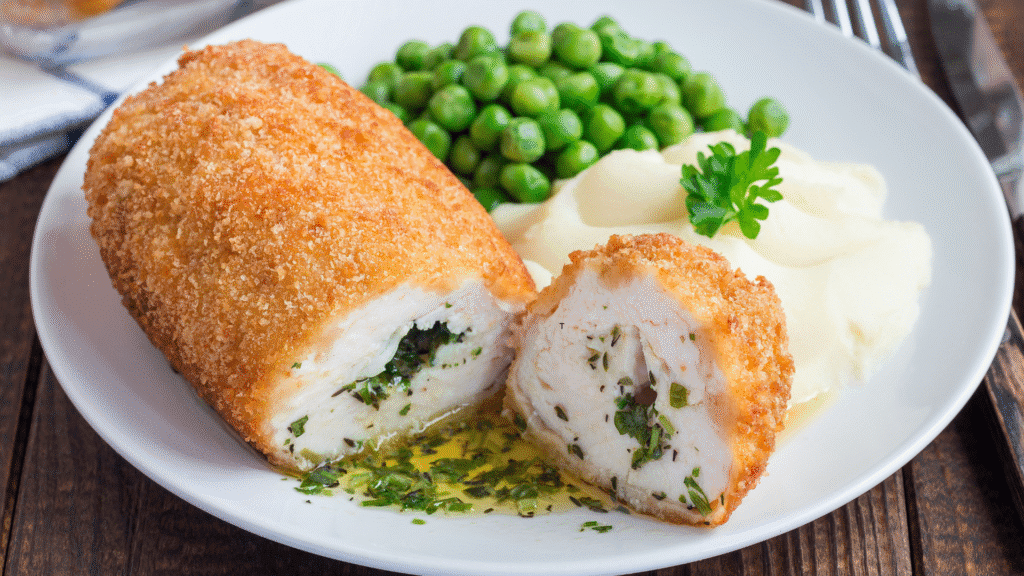
Chicken Kiev is a stuffed chicken breast filled with garlic-herb butter and coated in breadcrumbs. While it’s often deep-fried, baking it in the oven offers a simpler and less greasy option. The challenge is keeping the meat moist while getting a crisp outer layer.
This article will walk you through each step of the process to help you make oven-baked chicken Kiev without drying it out. You’ll learn how to prepare the filling, shape the chicken correctly, and bake it at the right temperature for tender, juicy results.
Table of Contents
ToggleChoose the Right Chicken Breasts
Start with fresh, evenly sized chicken breasts. They should be thick enough to hold the butter but not so large that they take too long to cook.
- Pick boneless, skinless chicken breasts.
- Trim off any excess fat or uneven edges.
- Use similar-sized pieces for even cooking.
Avoid using very thin chicken breasts, which dry out faster in the oven.
Make a Solid Herb Butter Filling
The butter filling helps keep the meat moist. Use fresh herbs and chill the butter before stuffing.
How to Prepare Herb Butter
- Mix softened unsalted butter with minced garlic and chopped parsley.
- Add a pinch of salt and black pepper for flavor.
- Shape into a small log using plastic wrap and chill for 30 minutes.
Cold butter melts slowly in the oven, which helps keep the inside juicy.
Flatten and Roll the Chicken Tightly
Proper shaping makes a big difference in how the chicken cooks. Flattening ensures even thickness and better heat distribution.
- Place the chicken between two pieces of plastic wrap.
- Use a meat mallet or rolling pin to flatten to ½ inch thickness.
- Place the chilled butter in the center and roll the chicken around it.
- Fold in the sides and roll tightly, sealing with toothpicks or plastic wrap.
Chill the rolls again for about 20 minutes before coating.
Set Up a Three-Step Coating Process
The coating protects the meat and helps it retain moisture. Stick to a standard breading method using flour, eggs, and breadcrumbs.
- Dredge each chicken roll in all-purpose flour.
- Dip into beaten eggs for full coverage.
- Roll in breadcrumbs mixed with a small amount of oil.
Press the breadcrumbs in gently so they stick well and create a firm outer layer.
Bake at the Right Temperature
A high starting temperature helps create a crispy crust while sealing in the juices. Then, lower the temperature slightly to finish cooking.
- Preheat your oven to 425°F (220°C).
- Place the breaded chicken on a parchment-lined tray.
- Bake for 10 minutes, then lower to 375°F (190°C).
- Continue baking for 15–20 minutes or until the internal temperature reaches 165°F (74°C).
Let the chicken rest for five minutes before serving. This step keeps the juices inside the meat.
Use a Meat Thermometer
The most accurate way to prevent dryness is to check the internal temperature. Overcooked chicken becomes tough and dry fast.
- Insert the thermometer into the thickest part of the roll.
- Remove the chicken once it hits 165°F (74°C).
- Avoid cutting into it too early, or the butter will leak out.
Even a few extra minutes in the oven can dry out the meat.
Serve With Moisture-Balancing Sides
Pair your chicken Kiev with sides that complement its texture and flavor. Moist sides also help balance the crispy coating.
Good side options include:
- Creamy mashed potatoes
- Buttered peas or green beans
- Steamed carrots or sautéed spinach
Keep the sides light but not dry, so the whole plate stays balanced.
Store and Reheat Without Drying
Proper storage and reheating techniques help keep leftovers moist. Avoid microwaving, which can dry out the coating.
- Let the chicken cool before storing in an airtight container.
- Refrigerate for up to three days.
- Reheat in a preheated oven at 350°F (175°C) for 10–12 minutes.
Place a small tray of water on the lower rack during reheating to keep the air moist.
Wrapping Up
Baking chicken Kiev in the oven can result in juicy, flavorful meat if you follow a few key steps. Using cold herb butter, sealing the roll tightly, and baking at the right temperature all help keep it from drying out.
A good meat thermometer ensures you hit the perfect doneness every time. With proper care, you can enjoy crispy, golden chicken Kiev without sacrificing moisture.
