
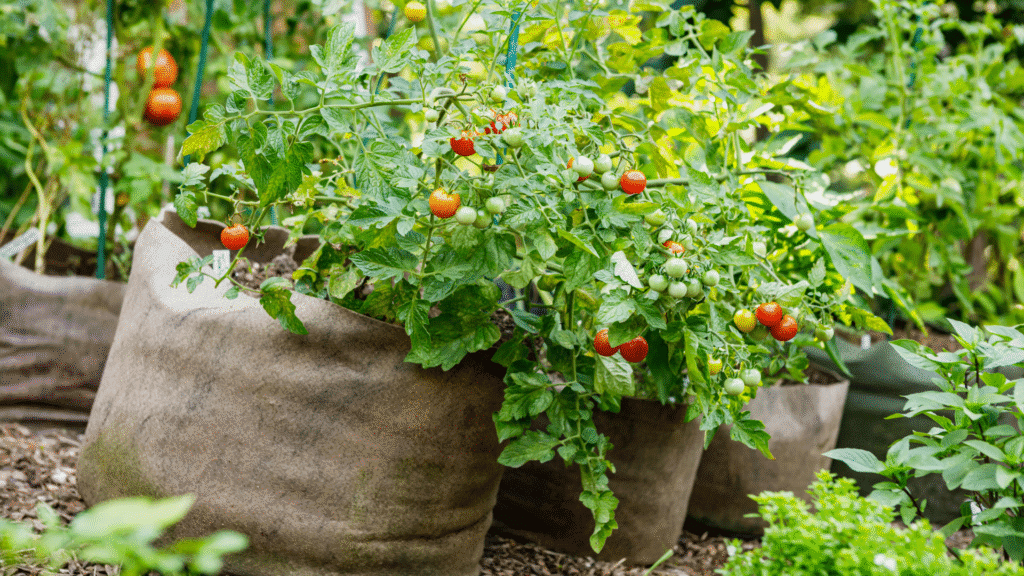
Growing tomatoes on a balcony offers a smart way to enjoy fresh produce in a small space. With the right setup, you can grow healthy, productive plants in pots even several floors above ground level. Balcony gardening allows you to manage sunlight, airflow, and watering more closely, giving you a hands-on approach to healthy harvests.
This guide walks you through each step, from choosing the best container to managing light and water. By the end, you’ll know how to grow tomatoes that thrive in pots, even in tight spaces with limited ground contact.
Table of Contents
ToggleStep 1: Choose the Right Tomato Variety
Not every tomato plant is ideal for container growing. Some grow too large and need more space than a pot or small balcony can offer. Look for compact, determinate varieties like ‘Bush Early Girl,’ ‘Patio Princess,’ or ‘Tiny Tim.’ These are bred to stay small but still produce a steady crop.
Cherry tomatoes also tend to work well because they grow quickly and fruit continuously. Avoid large indeterminate varieties unless you have a large container and strong support. The smaller the plant, the easier it will be to manage in a container setup.
Step 2: Pick a Proper Container
Tomatoes need space for their roots and good drainage to stay healthy. Choose a container that holds at least 5 gallons of soil for each plant. Buckets, grow bags, and large nursery pots all work well, as long as there are holes in the bottom for excess water to escape.
Deeper containers help prevent the soil from drying out too quickly. A 12- to 14-inch depth is ideal. If you’re using a balcony with limited space, rectangular planters that run along the edge can be a smart use of your layout.
Step 3: Use High-Quality Potting Soil
Tomatoes grown in containers rely on the nutrients in their soil more than in-ground plants. Use a light, well-draining potting mix designed for vegetables or container gardening. Avoid using garden soil or heavy mixes, which can lead to poor root growth and compacted soil.
Look for a blend that includes peat, compost, and perlite or vermiculite. These components hold moisture but allow airflow to the roots. Some mixes come with slow-release fertilizer included, which gives young plants a boost during the first few weeks.
Step 4: Ensure Enough Sunlight Each Day
Tomatoes need full sun to produce fruit, and container-grown plants are no different. Aim for 6 to 8 hours of direct sunlight daily. South-facing balconies work best, but east- or west-facing ones can also work if there are several hours of strong morning or afternoon light.
If your space gets less sun, choose fast-growing, smaller-fruited varieties and avoid large beefsteak types. You can also place reflective materials like white walls or foil panels near your plants to direct more light onto the leaves.
Step 5: Water Consistently and Deeply
Container plants dry out faster than garden beds, especially during hot weather. Tomatoes prefer evenly moist soil; not soggy, but never fully dry. Water deeply until water runs out of the drainage holes, then wait until the top inch of soil feels dry before watering again.
On sunny days, you may need to water daily. Early morning is the best time, as it gives plants time to absorb moisture before the heat of the day. Be careful not to let containers sit in trays full of water, as this can lead to root rot.
Step 6: Fertilize for Steady Growth
Tomatoes are heavy feeders and need regular nutrients to grow and fruit well. Start with a balanced liquid fertilizer every two weeks once the plant is established. As flowers begin to form, switch to a fertilizer higher in potassium to support fruit production.
Avoid overfeeding, which can lead to lots of leaves and few tomatoes. Follow label directions, and don’t apply more often than suggested. Adding a layer of compost around the base of the plant every few weeks can also give a mild, steady nutrient boost.
Step 7: Provide Support as Plants Grow
Even compact tomato plants benefit from some support to keep stems upright and fruit off the soil. Use cages, stakes, or trellises that fit inside or next to your container. Install support early, before the plant gets too large, so you don’t disturb the roots later.
For cherry or vine varieties, train stems gently using soft ties. Be sure to check ties regularly and adjust them so they don’t dig into the plant as it grows. Supporting the plant also helps with airflow, which can reduce disease risk.
Step 8: Watch for Pests and Common Problems
Balcony plants may still attract pests like aphids, whiteflies, and spider mites. Check leaves often, especially the undersides, and wash pests off with a gentle spray of water. If needed, use neem oil or insecticidal soap in the early morning or late afternoon to avoid leaf burn.
Keep an eye out for yellowing leaves, wilted stems, or black spots on fruit. These may point to water stress, nutrient issues, or fungal diseases. Prompt action, like pruning damaged leaves or improving airflow, often prevents bigger problems.
Step 9: Harvesting and Ongoing Care
Tomatoes are ready to pick when they reach full color and feel slightly soft when gently squeezed. Harvest regularly to encourage new fruit to form. Leaving ripe fruit on the vine too long can slow down the plant’s energy and attract pests.
Continue caring for the plant as long as it produces. Trim off dead leaves, remove suckers if needed, and refresh the soil surface with compost. With steady attention, your balcony tomato plant can produce for several weeks or even months, depending on the variety.
Wrapping Up
Growing tomatoes in containers on a balcony is a rewarding way to enjoy fresh produce, even with limited space. With the right pot, soil, sunlight, and care, you can grow healthy plants and harvest tasty tomatoes all season long.
Stay consistent with watering, feed them well, and give them enough light and support. In return, they’ll give you flavor and satisfaction right outside your door. Once you grow your first crop, it’s hard to go back to store-bought.
